
How to build the ultimate homemade zamboni

A quick search online will turn up endless DIY ice resurfacing contraptions—everything from two pipes and a rag to full-on barrels mounted to lawn mowers.
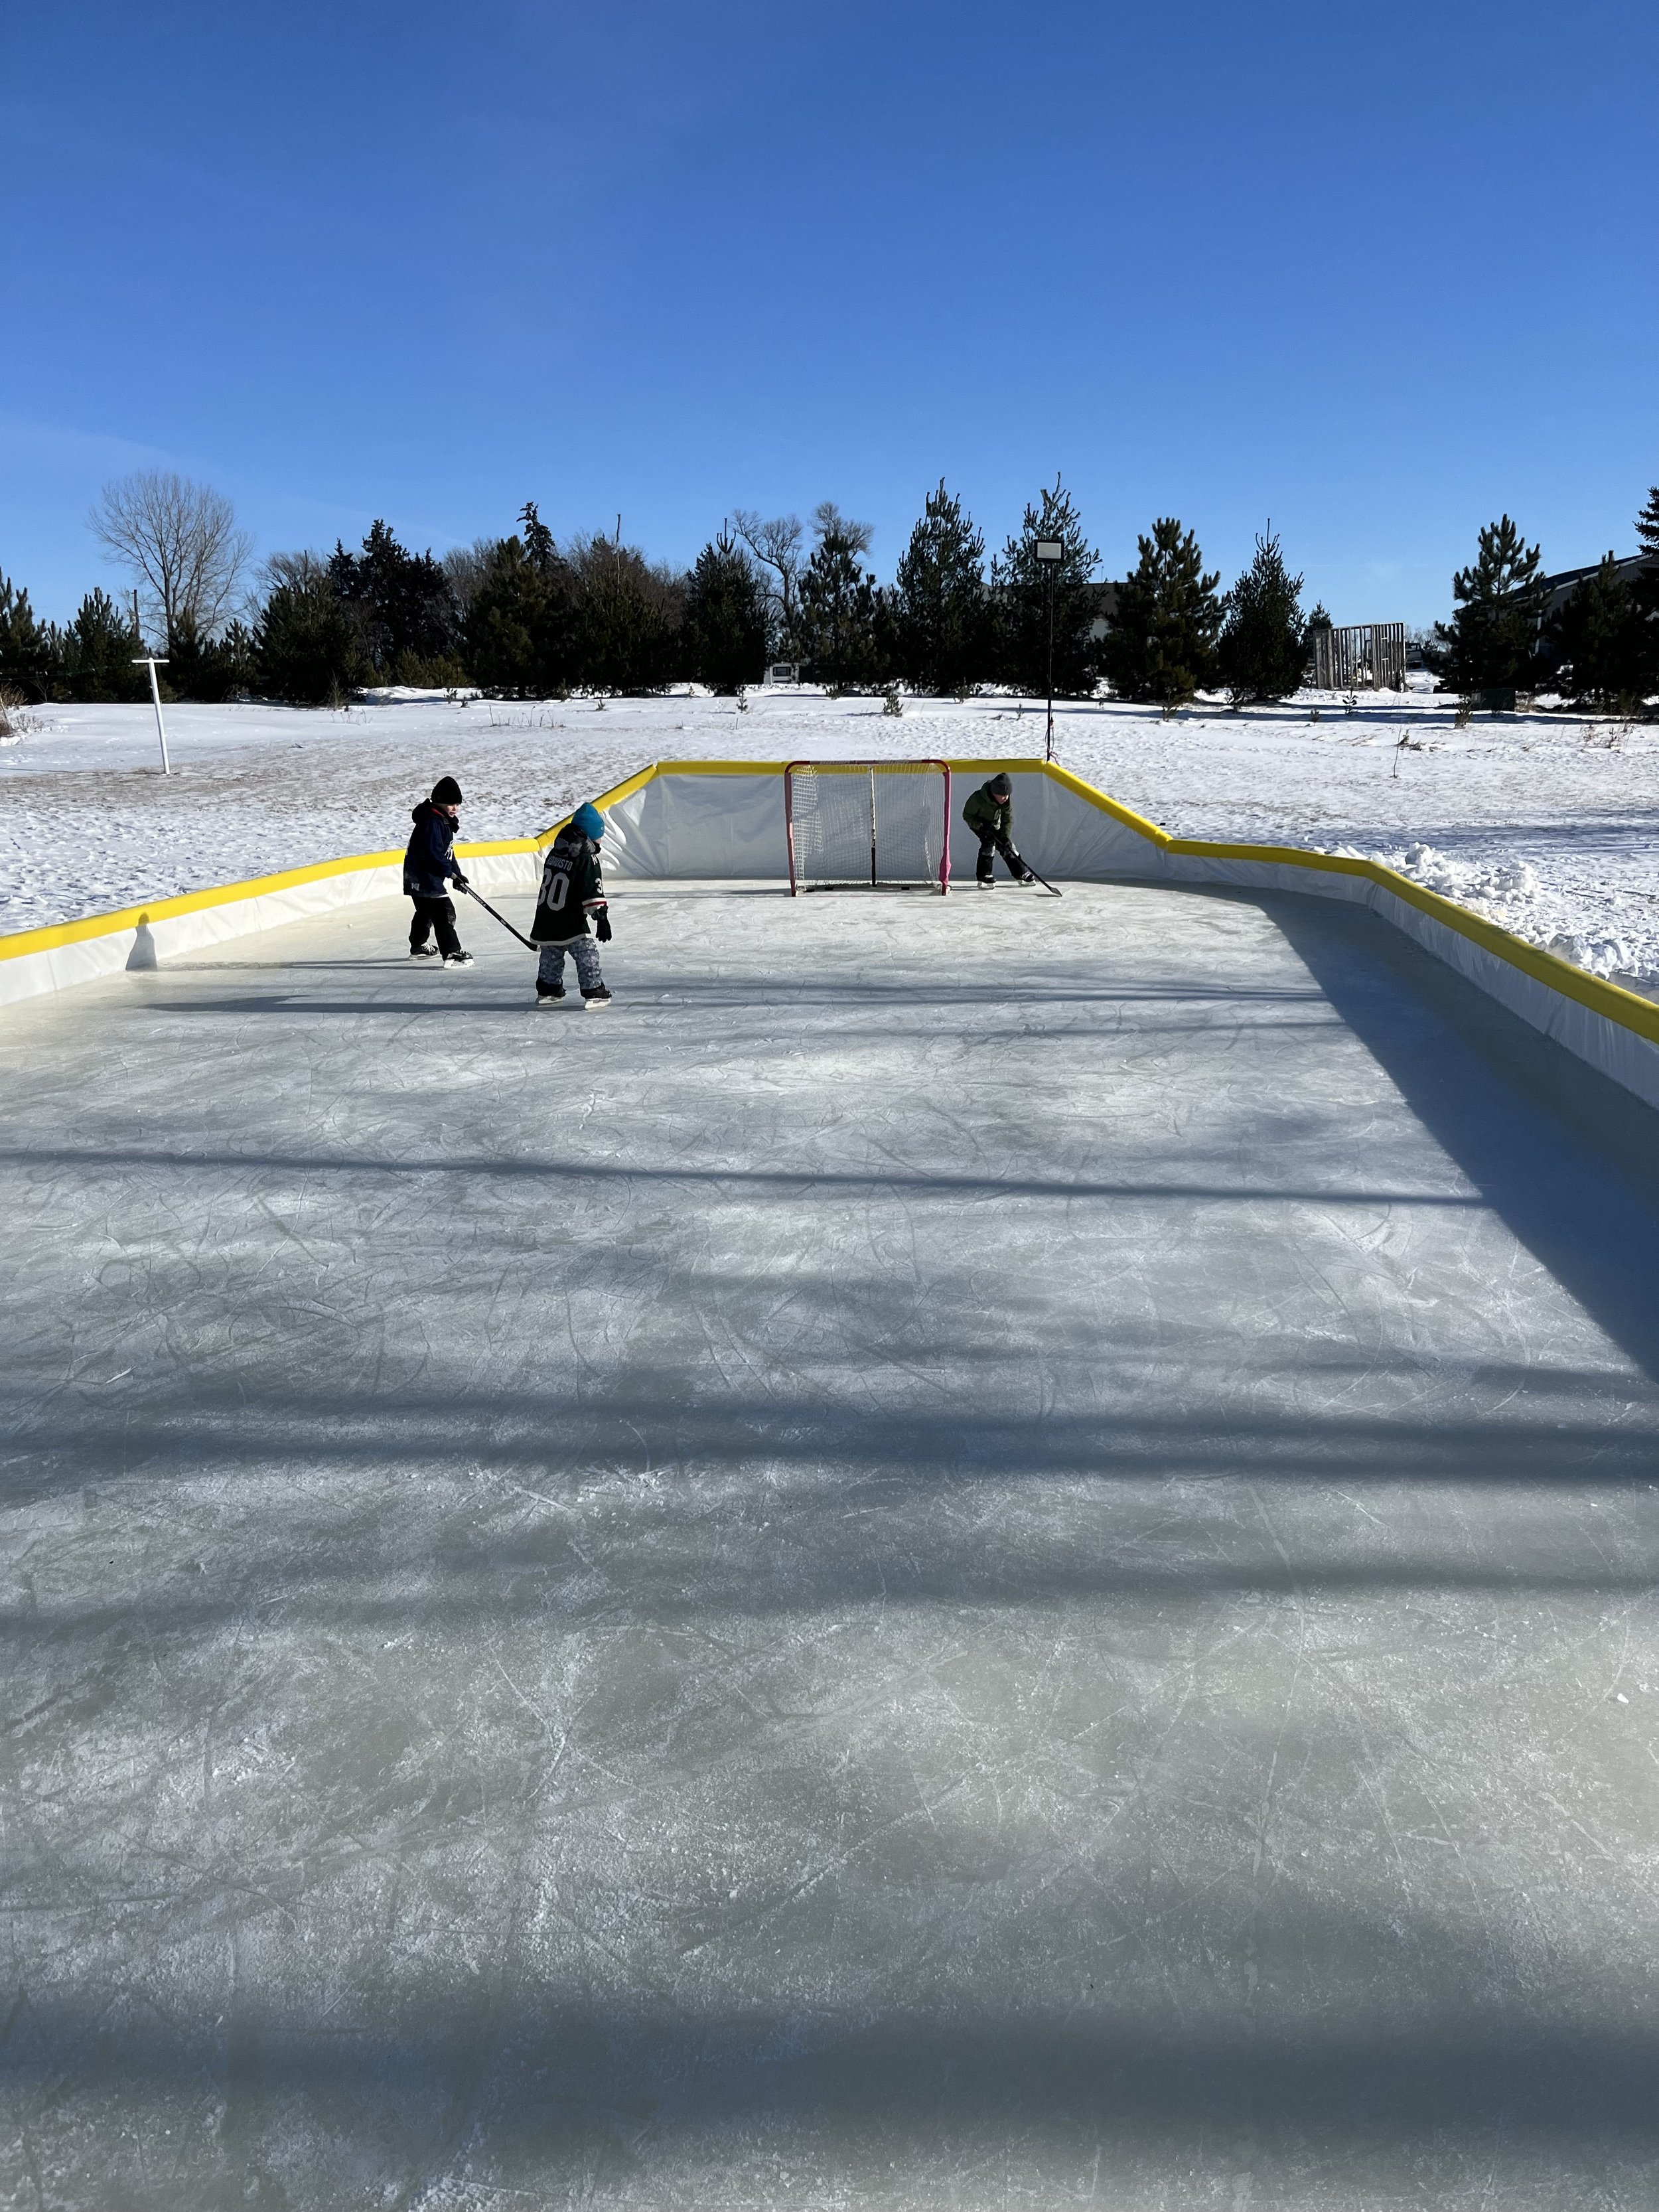
There’s something about the idea of driving a Zamboni that sticks with people. Whether it’s the song “I Wanna Drive the Zamboni” by Gear Daddies or just the idea of a perfect sheet of ice, it’s a dream that’s played out in garages all across the north. You’ll find motivated dads piecing together their own functional works of art, imagining sheets of backyard ice gleaming like glass.
And honestly—we respect it.
But if your goal is great ice (not just a cool machine), it helps to break things down to what actually matters.
What a Real Zamboni Actually Does
If you strip it down, every professional ice resurfacer is doing three simple things:
Cutting the ice
Removing snow and debris
Laying down a clean layer of water
That’s it.
Let’s walk through each one—and how to replicate it at home.
If you want to see the full breakdown of how a professional machine works, you can check out how a real Zamboni works.
1. The Blade (The Part Everyone Overlooks)
The blade is the most important part of a professional resurfacer—and most people don’t even realize it exists.
It’s located inside the conditioner (the box behind the machine), underneath the auger. Think of it like a giant barber’s razor, shaving off a thin layer of ice—usually about 1/16" to 1/8".
This is also the hardest part to replicate at home, and most DIY builds skip it entirely.
The good news?
You don’t need to.
The backyard version:
Just skate.
Skating naturally knocks down high spots and evens out the surface. It’s not perfect, but it works—and it’s a lot more fun than pushing a blade around your rink.
2. The Auger (Moving Snow Off the Ice)
If you’ve ever watched a Zamboni, you’ve seen the auger spinning—pulling snow to the center and lifting it into the machine.
That’s great in an arena.
In your backyard?
The simple version:
A wide shovel
A snow pusher
Or a single-stage snowblower
If you really love machinery, a snowblower scratches that itch. But in most cases, a wide shovel and a good system will actually be faster—especially if you’ve got a couple people helping.
3. Water (The Finish)
This one’s simple.
Water is what brings everything together and gives you that smooth, glossy finish.
There’s always a debate here:
Hot water vs. cold water
Some people swear by hot water. Others see no difference.
We’ll stay out of that fight.
What actually matters:
Even coverage
Thin layers
Letting it freeze properly
If you’ve got a hose, you’ve got everything you need.
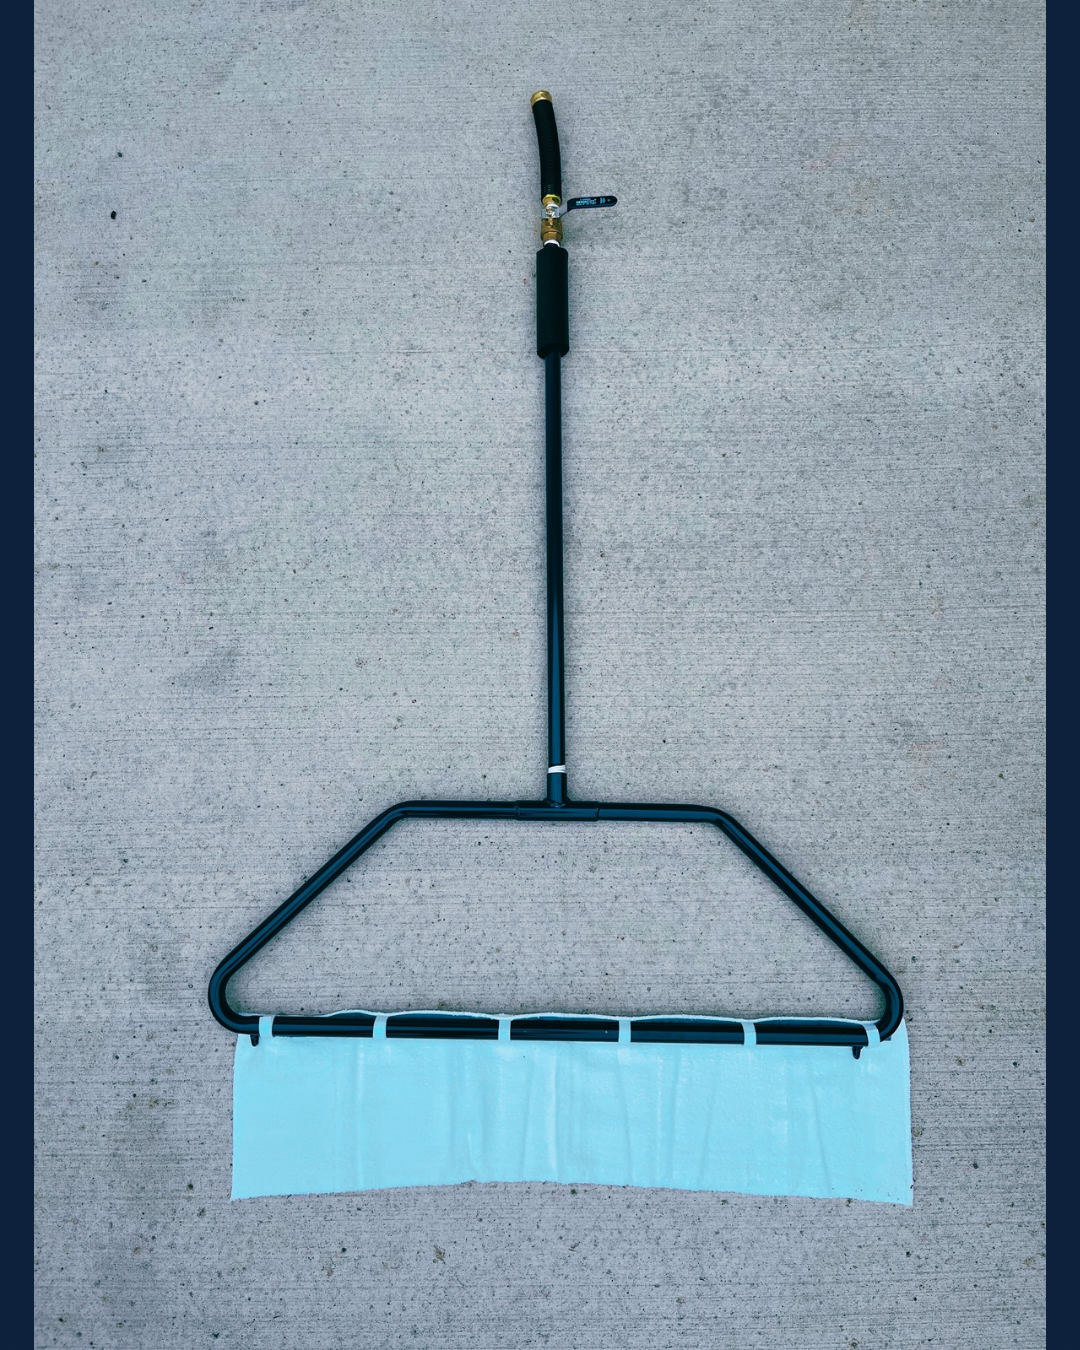
4. The Towel (The Secret Weapon)
This is where the magic happens.
A towel (or cloth) drags behind your water source and spreads it evenly across the ice, smoothing everything out.
And here’s the best part:
It works the same whether it’s attached to a $2,000 DIY rig
Or two pieces of PVC from Home Depot
Simple wins here.
So… Do You Need a Homemade Zamboni?
Not really.
You can absolutely spend hours building the ultimate backyard resurfacer—and if you enjoy that, go for it.
But the reality is:
If you combine skating, snow removal, water, and a towel—you already have everything you need.
That’s the “ultimate homemade Zamboni.”
Final Thoughts
Backyard ice doesn’t need to be complicated.
Focus on the fundamentals:
Knock down high spots
Keep the surface clean
Lay down smooth, thin layers of water
Do that consistently, and you’ll end up with ice that looks—and skates—like something you’d expect at a rink.
And if you’re already putting in the work to maintain your rink, it’s worth learning a few backyard ice rink maintenance tips to keep it in top shape all season.
