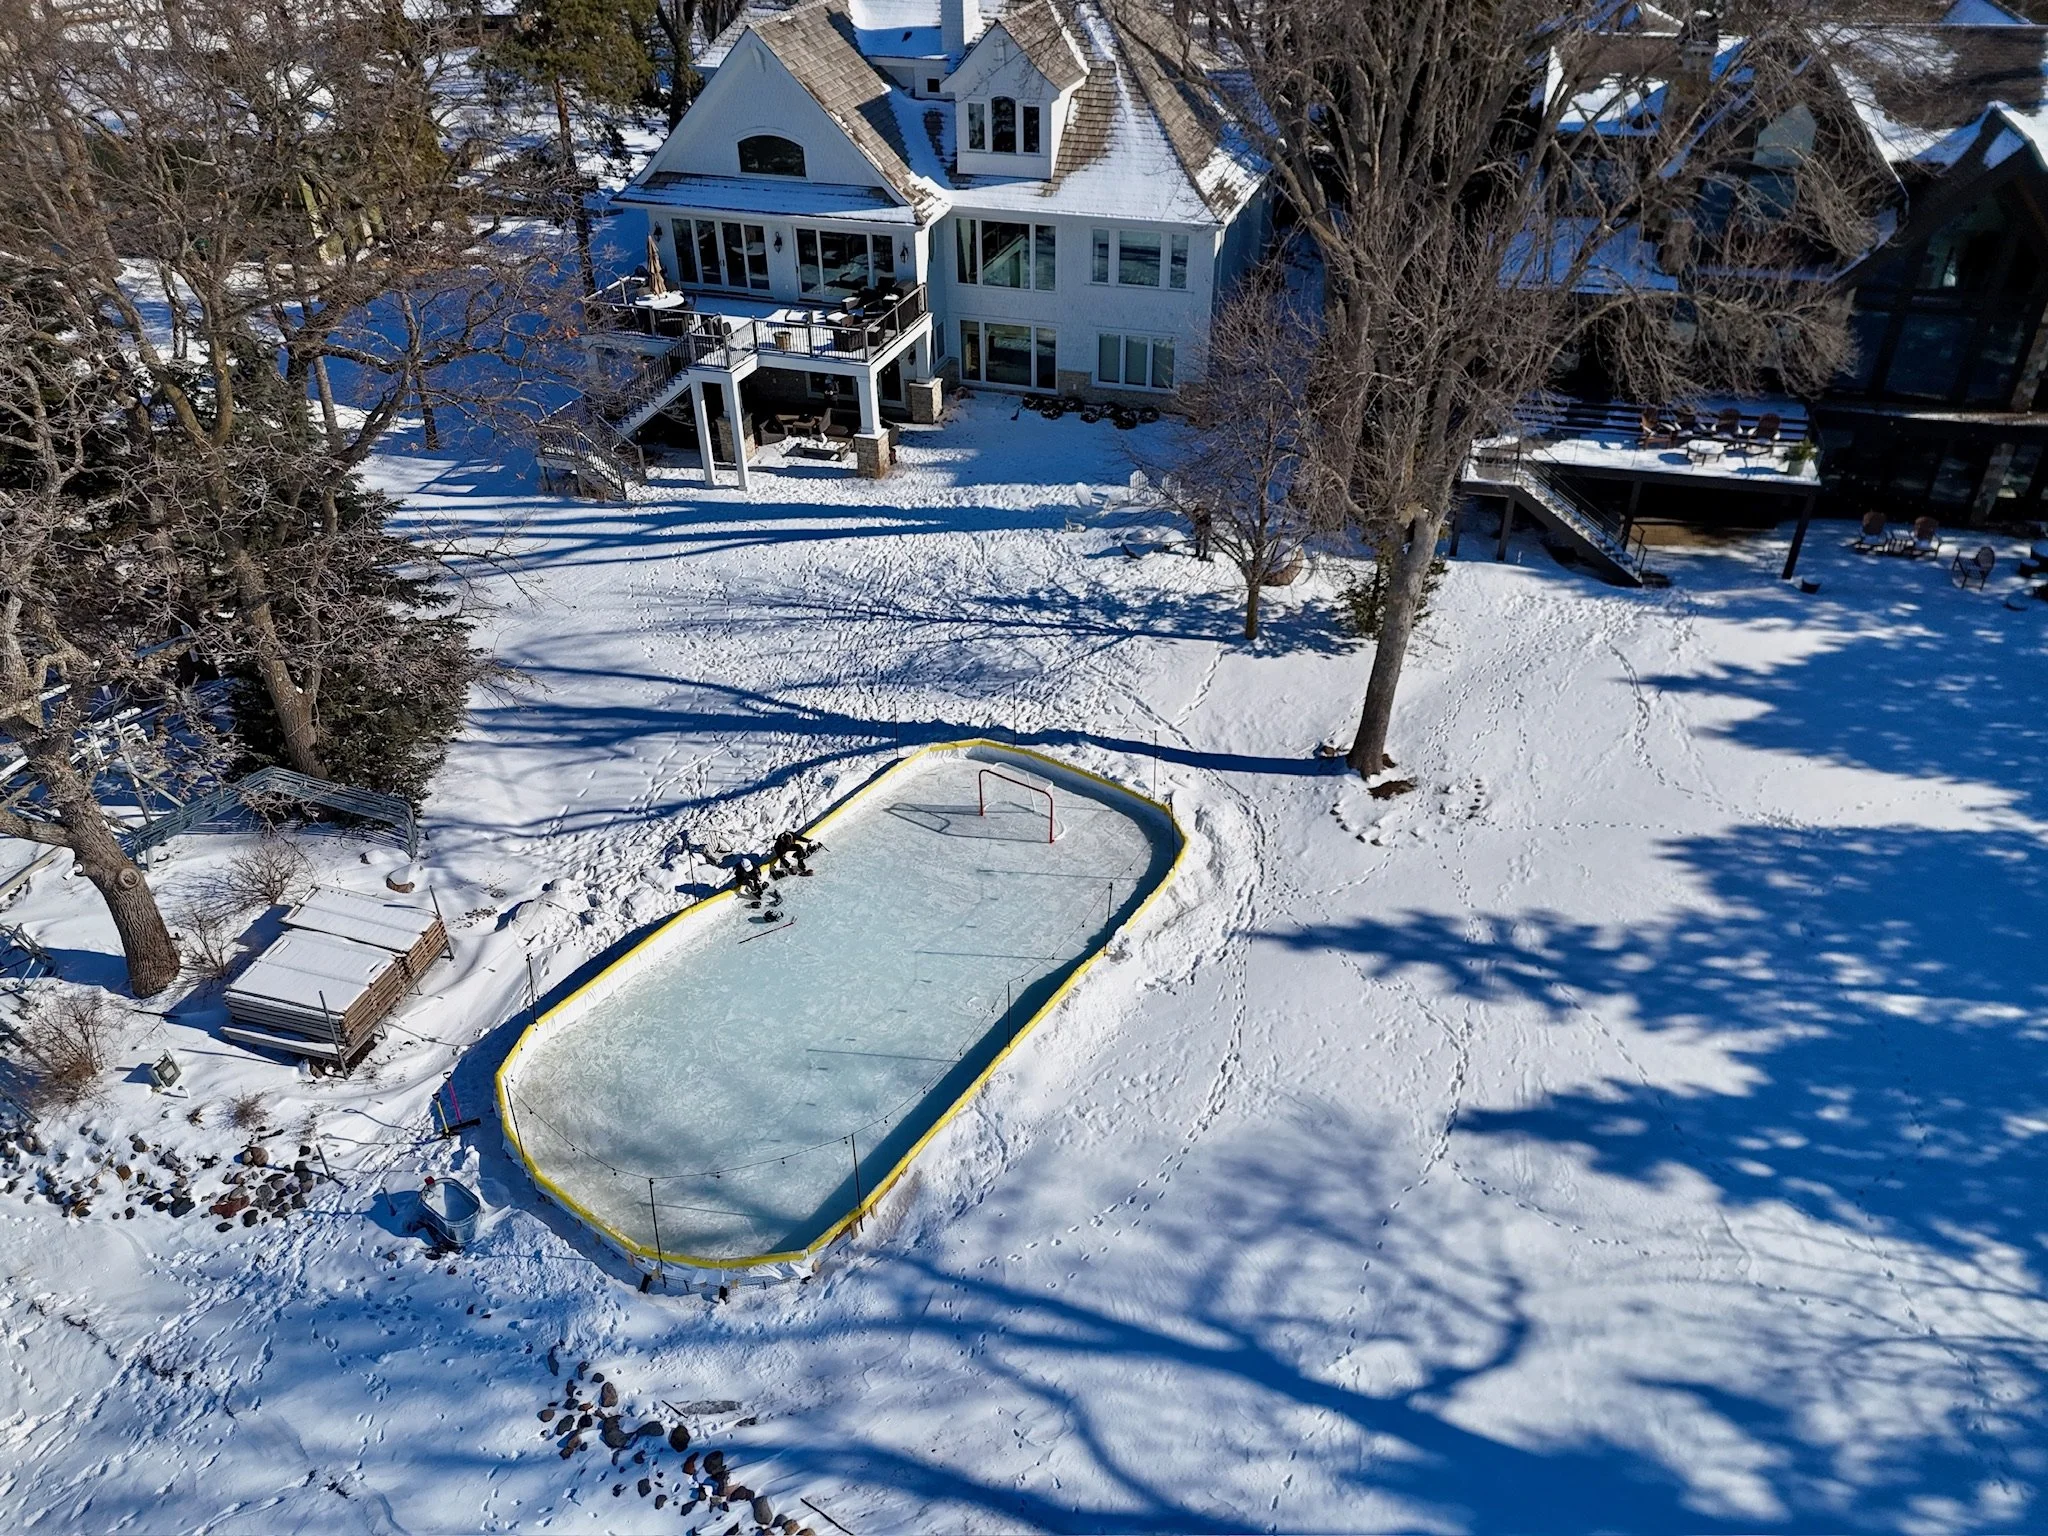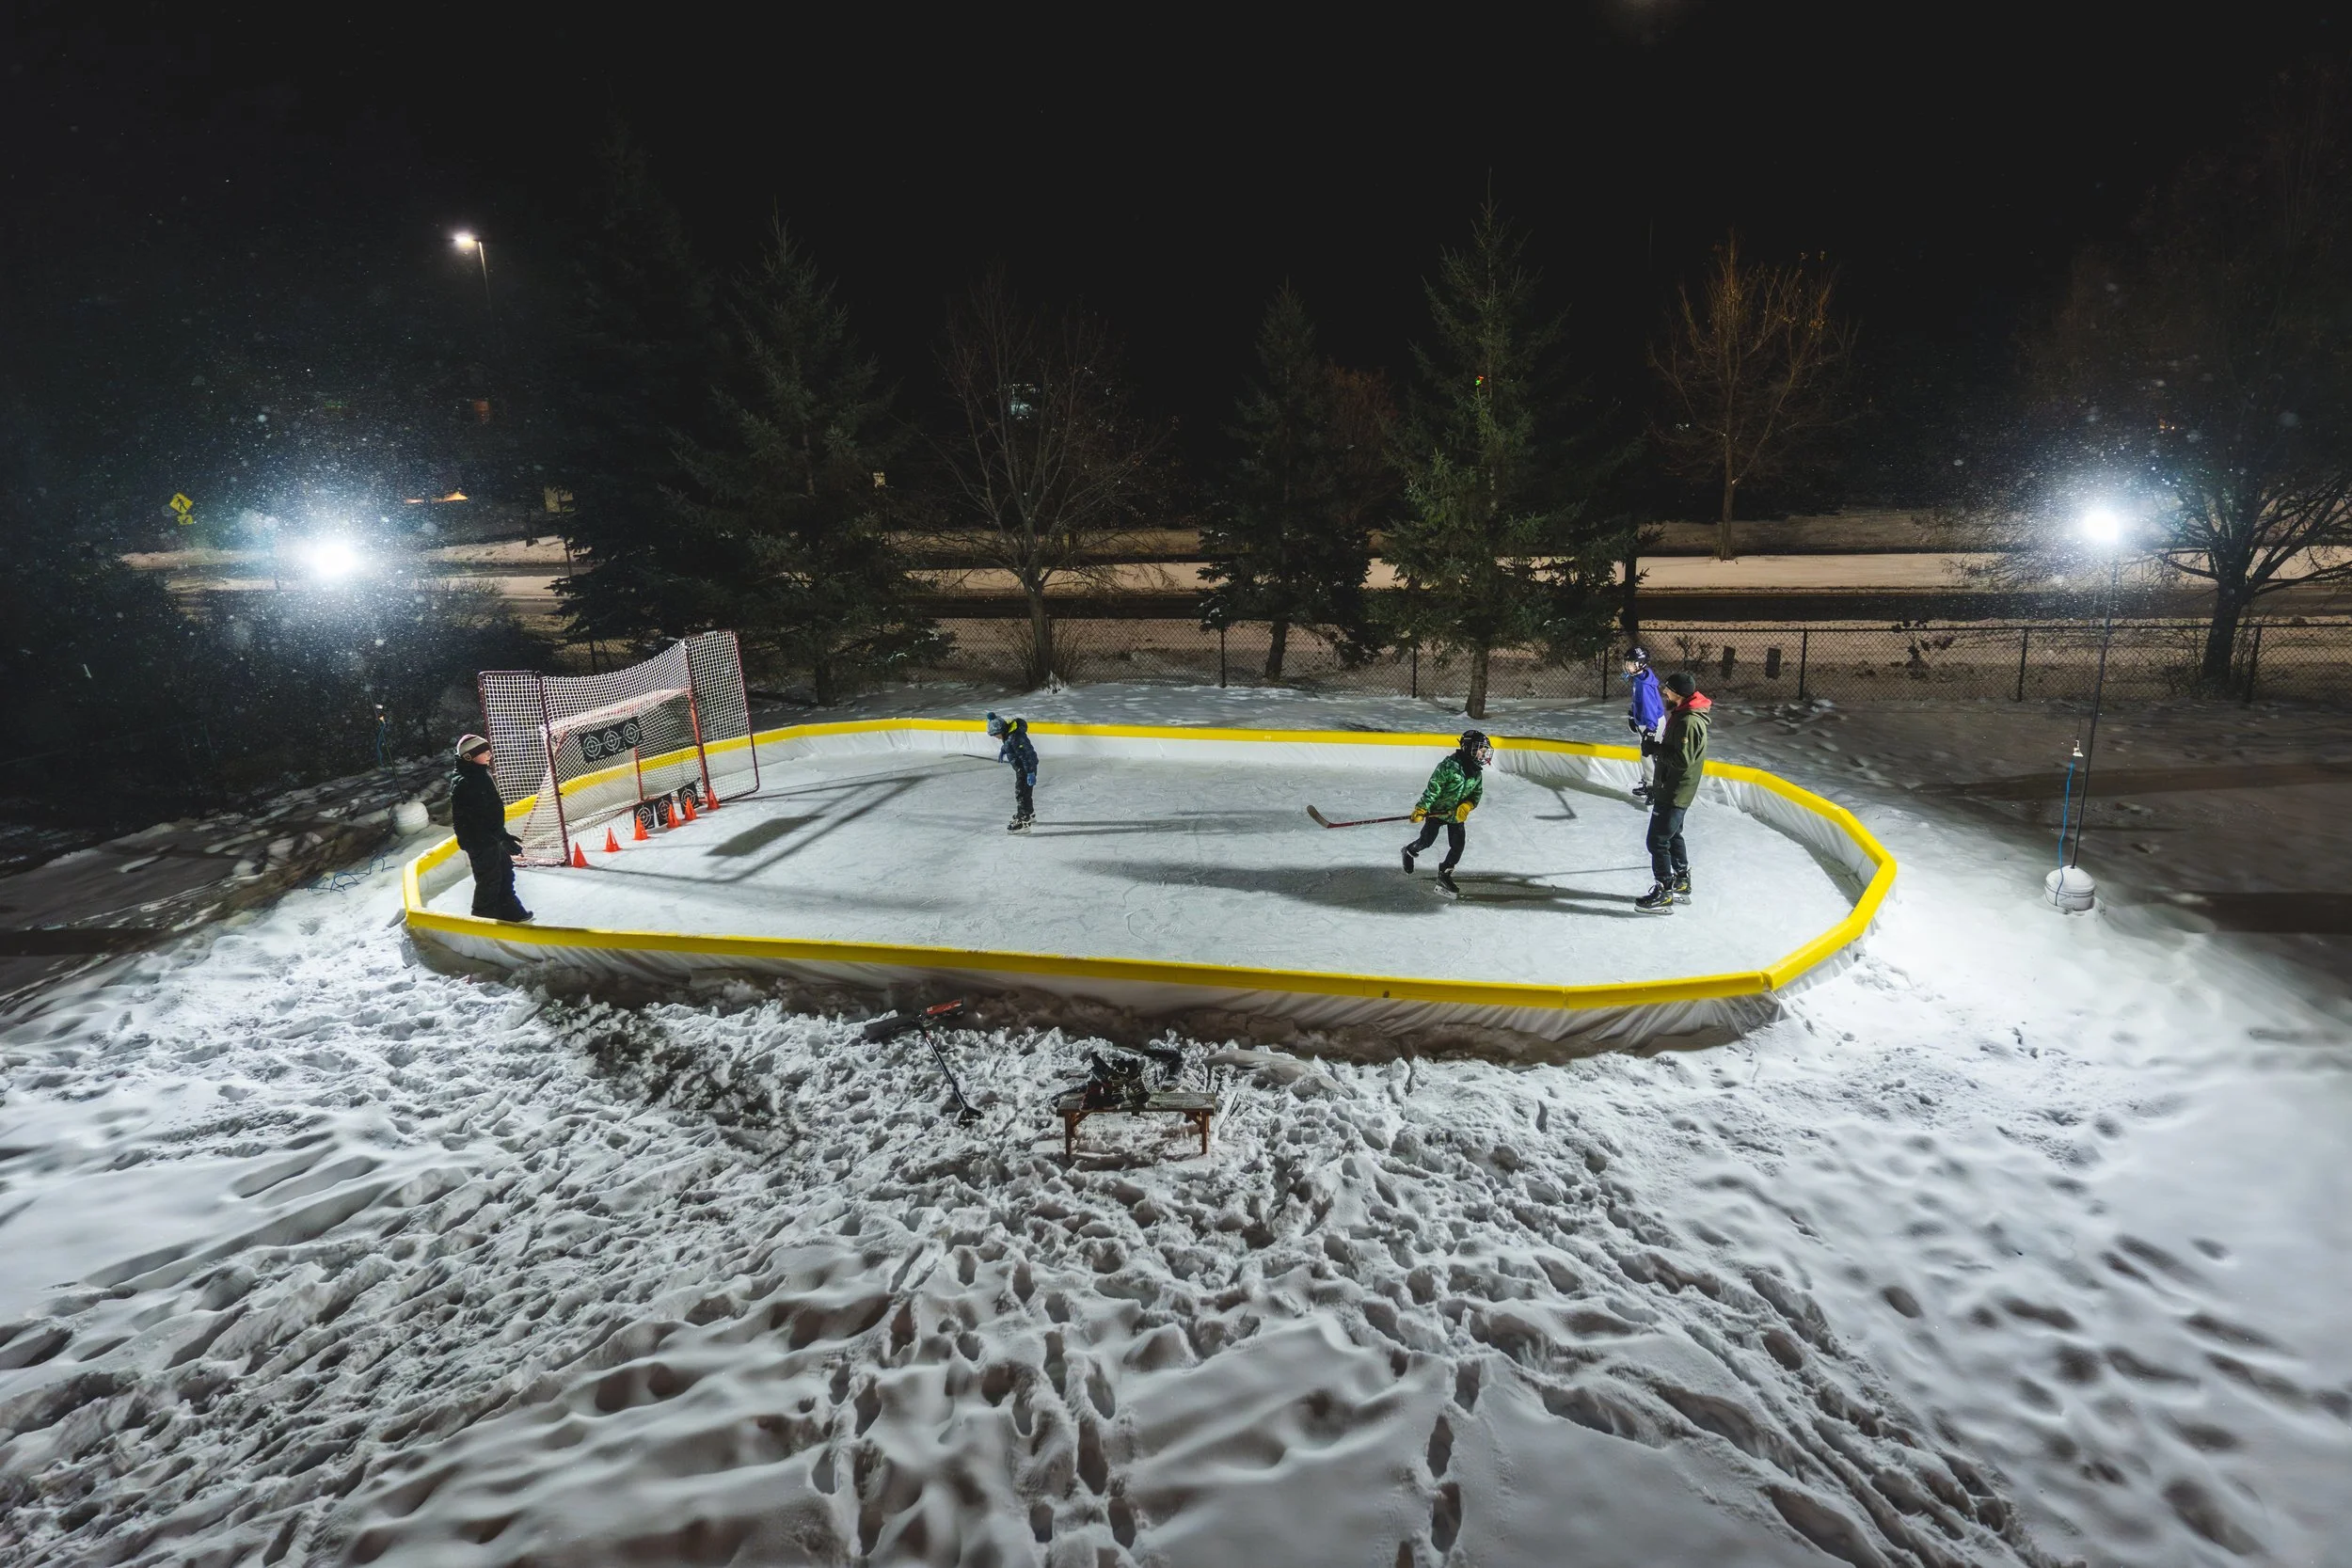
If you’re planning to build a backyard ice rink, one of the first big decisions you’ll face is what to use for your rink walls.
There’s no one “right” answer.
Some people want the cheapest way to get ice in their backyard. Others want something that looks clean, lasts all season, and doesn’t take over their weekends.
At Polar Bear Rinks, we work with homeowners across Minnesota every winter, and we’ve seen just about every setup you can imagine—from scrappy DIY builds to full backyard rinks with lights and boards.
This guide breaks down the most common rink building materials so you can choose what fits your budget, time, and goals.
Option 1: Plywood (Lowest Cost, Most DIY)
Plywood is often the entry point for backyard rink builders.
Typically, you’ll use sheets of ½”–¾” plywood supported by stakes around the perimeter.
Pros:
Lowest upfront cost
Easy to find at any hardware store
Flexible for custom shapes and layouts
Can be used with NiceRink Brackets
Cons:
Can bow or warp under water pressure
Doesn’t always last more than a season
Requires more staking and reinforcement
Rougher overall look
Best for:
First-time builders
Smaller rinks
Anyone testing things out before investing more
👉 Reality check: Plywood can work, but it’s usually the option people outgrow quickly.
Option 2: Solid Lumber (Most Common DIY Setup)
If you’ve seen a well-built backyard rink, there’s a good chance it was made with standard lumber.
Most setups use:
2x6, 2x8, or 2x10 boards
Wood stakes driven into the ground
A liner to hold the water
Pros:
Strong and reliable
Reusable for multiple seasons
Handles uneven ground better than plywood
More “finished” look
Cons:
Higher cost than plywood
Heavier and more labor-intensive
Still requires time, tools, and some trial and error
Best for:
Homeowners who want a solid, repeatable setup
Medium to large rinks
Families planning to build a rink year after year
👉 This is the sweet spot for most DIY rinks in Minnesota.
Option 3: Backyard Rink Kits (Easiest DIY Option)
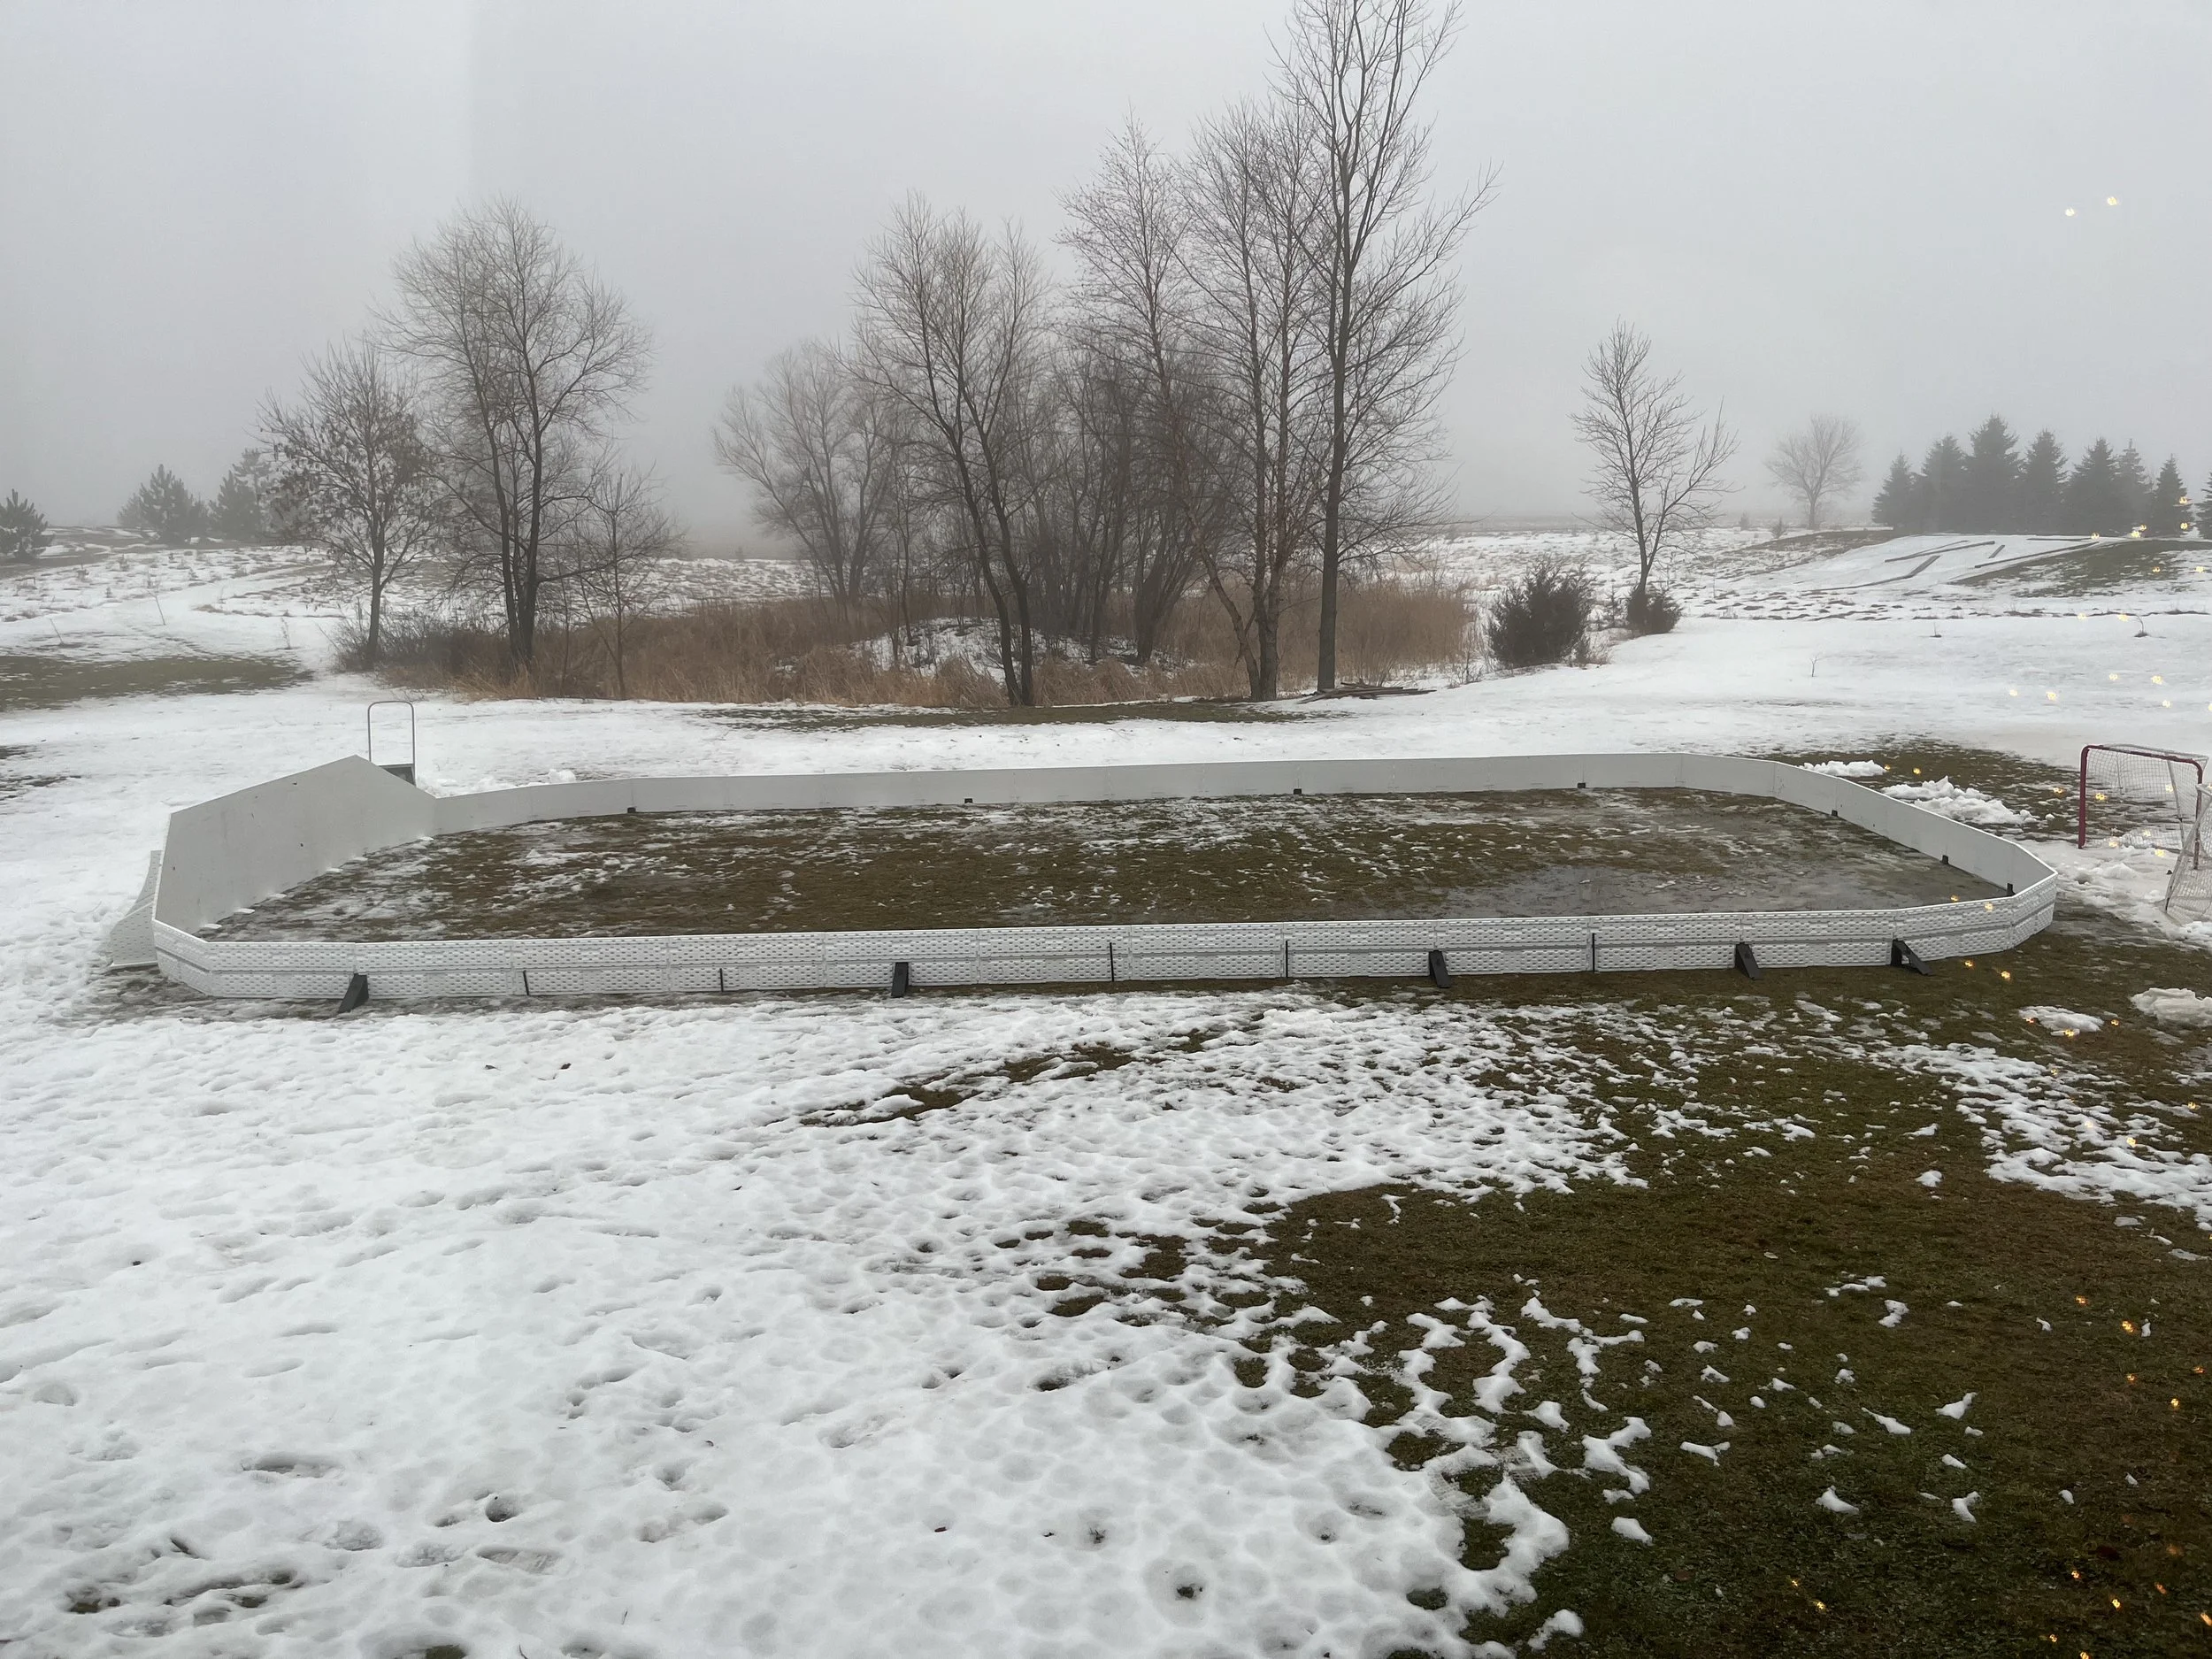
Rink kits are designed specifically for backyard ice—usually with brackets, engineered boards, or modular panel systems.
One of the more popular options is NiceRink, which uses plastic boards and a bracket system to create a clean, professional-looking rink.
Pros:
Much faster and easier to set up
Clean, polished appearance
Designed to handle water pressure and expansion
Components are reusable and consistent
Cons:
Higher upfront cost
Less flexibility for custom shapes
Still requires some setup and site prep
Best for:
Homeowners who want a great-looking rink without full DIY trial and error
Families who value time and convenience
Anyone planning to use their rink for multiple seasons
Option 4: A Professionally Installed Rental Rink
If you want a backyard rink with installation, spring removal, and storage handled for you, a seasonal rental is worth considering.
Polar Bear Rinks uses NiceRink board systems. Our packages include rink equipment, board installation, liner installation and initial fill assistance, spring removal, and seasonal storage.
Advantages
Professional yard assessment and installation
No spring teardown to handle yourself
No equipment to store over the summer
Guidance when rink-care questions come up
Things to Consider
Full-service rentals generally cost more than buying basic DIY materials
Homeowners still handle routine snow removal and ice resurfacing
Installation depends on yard suitability and availability
Compare our backyard ice rink rental packages for current pricing and options.
What Should You Choose?
It really comes down to one question:
Do you want to spend more time or more money?
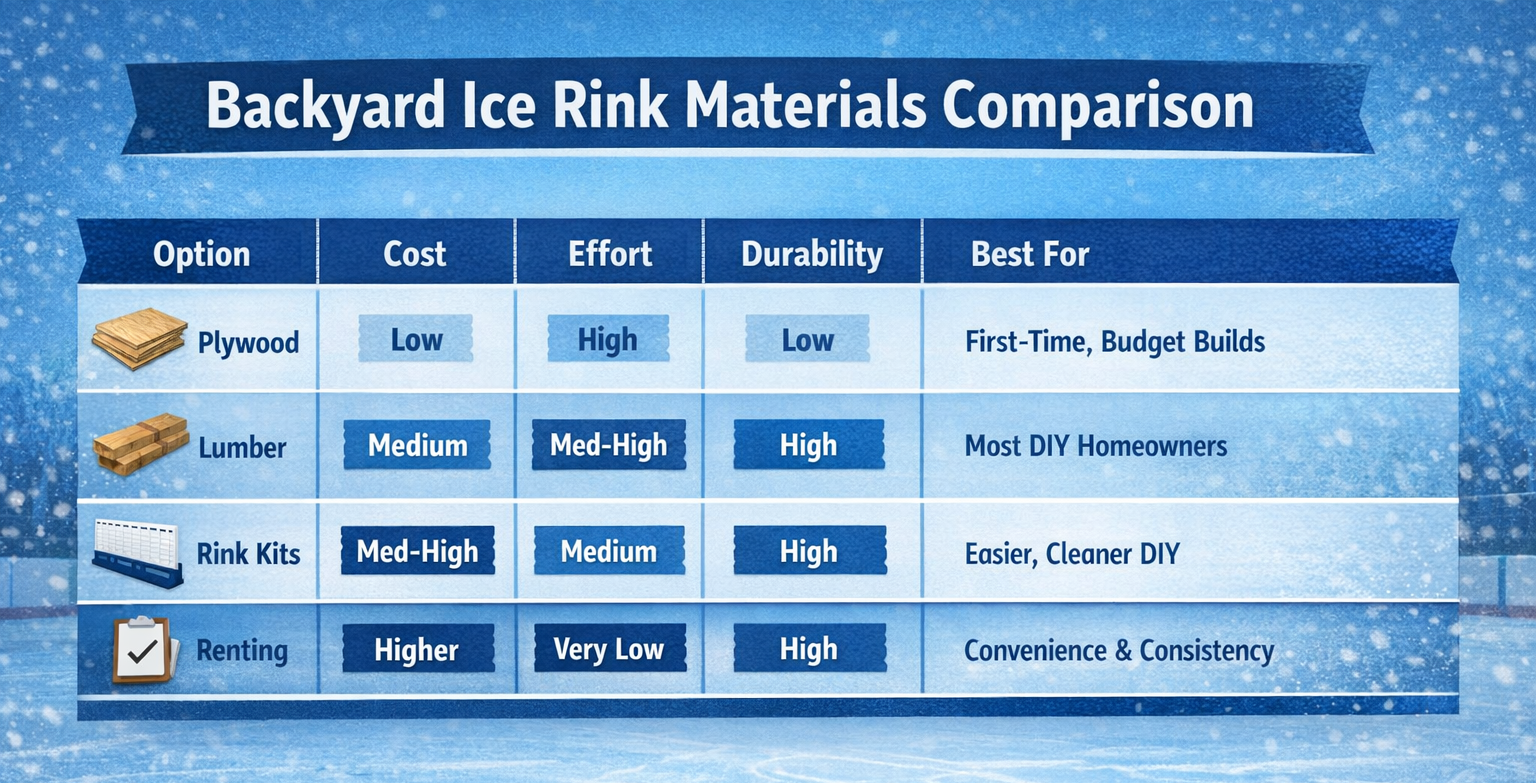
If you want the cheapest option → go plywood
If you want a solid long-term DIY setup → go lumber
If you want easier setup with great results → consider a rink kit
If you want to skip the work → renting is your best bet
There’s no wrong answer—just the one that fits your situation.
No matter what you build with, maintenance plays a big role. Learn more about keeping your ice smooth all winter.
A Minnesota Perspective
Building a backyard rink in Minnesota isn’t just about getting it set up—it’s about keeping it in good shape through snow, temperature swings, and long winters.
Stronger materials and better systems tend to:
Handle freeze/thaw cycles better
Require less mid-season fixing
Keep a smoother skating surface
That’s something worth thinking about beyond just the upfront cost.
Final Thoughts
A backyard rink doesn’t have to be perfect to be worth it.
Some of the best rinks we’ve seen were built with basic materials and a lot of trial and error. Others were professionally installed and dialed in from day one.
Either way, the goal is the same: getting outside and making the most of winter.
Once you’ve chosen your materials, the next step is building your frame. Here’s our full guide on how to build a backyard ice rink step by step.
Prefer to Have Installation Handled for You?
Polar Bear Rinks offers complete seasonal backyard ice rink rentals in Minnesota. We handle installation, spring removal, and equipment storage. You handle routine snow removal and ice resurfacing, with guidance from our team.
Read Backyard Ice Rink Rentals: How They Work to learn about the process, or request a yard consultation to find out what fits your space.